How to Adjust Torque on a Robotic Screw Driving Arm for Optimal Performance
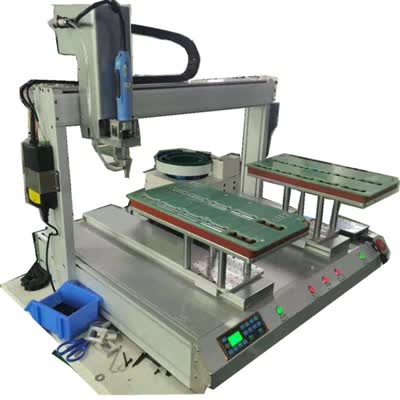
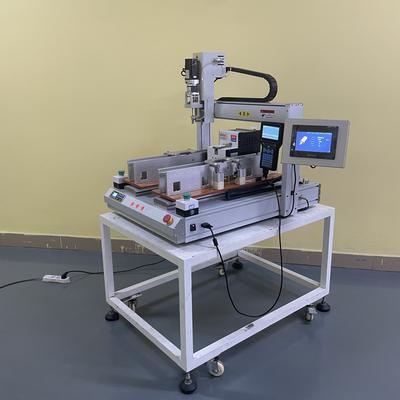
Robotic screw driving arms are essential tools in manufacturing and assembly lines, offering precision, speed, and consistency. However, to ensure optimal performance, it’s crucial to adjust the torque settings correctly. Torque, the rotational force applied by the screwdriver, directly impacts the quality of fastening—too high, and you risk damaging components; too low, and connections may be loose. This guide explains how to adjust torque on a robotic screw driving arm for maximum efficiency.
Understanding Torque Settings
Torque is measured in Newton-meters (Nm) or inch-pounds (in-lbs) and varies depending on the screw type, material, and application. Robotic screwdrivers typically feature adjustable torque settings, either mechanically (via springs or clutches) or electronically (through software). Before adjusting, consult the screw manufacturer’s specifications to determine the ideal torque range.
Step-by-Step Torque Adjustment
- Power On the Robotic Arm: Ensure the system is powered and properly calibrated. Verify connections between the controller and the screwdriving unit.
- Access Torque Settings: Locate the torque adjustment mechanism. For mechanical systems, this may involve turning a dial or replacing springs. Electronic systems often require navigating the control interface.
- Set the Desired Torque: Input the target value based on the screw specifications. If using a mechanical system, adjust the clutch or spring tension incrementally.
- Test the Settings: Run a trial on scrap material or a sample workpiece. Monitor the screw depth and tightness. Use a torque analyzer if available for validation.
- Fine-Tune as Needed: If screws are too tight or loose, adjust the torque in small increments and retest until the desired result is achieved.
Common Mistakes to Avoid
- Over-tightening: Excessive torque can strip screws or crack materials. Always stay within recommended limits.
- Ignoring Environmental Factors: Temperature and humidity can affect torque accuracy. Recalibrate if conditions change significantly.
- Skipping Regular Maintenance: Worn clutches or sensors can lead to inconsistent performance. Schedule routine checks and part replacements.
Advanced Tips for Precision
For high-precision applications, consider:
- Multi-Stage Torque Profiles: Some systems allow progressive torque increase to avoid sudden stress on delicate components.
- Data Logging: Use built-in software to track torque history and identify trends or anomalies in the assembly process.
- Automated Feedback Systems: Integrate sensors to detect slip or misalignment and auto-adjust torque in real time.
Proper torque adjustment ensures reliable, repeatable results and extends the life of both the robotic arm and fasteners. By following these steps and best practices, you can optimize your screwdriving operations for efficiency and quality.
| Product Name | Applicable industries |
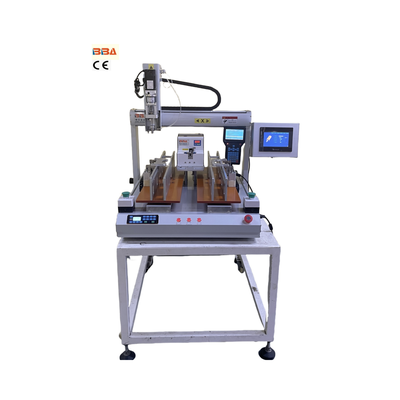
| Smart Screw Driving Machine | Laptop and Tablet Assembly |