How to Adjust Torque on a Robotic Screw Driving Arm | Industrial Automation Guide
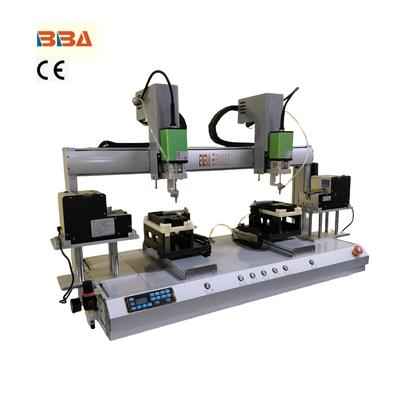
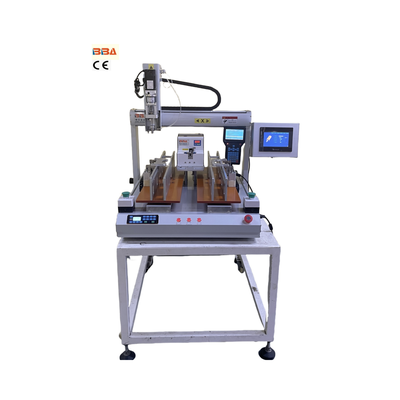
| Product Name | Applicable industries |
| Screw Fastening Unit | Power Tool Assembly Lines |

In the world of industrial automation, precision and reliability are paramount. One critical aspect of ensuring consistent performance in automated assembly processes is the proper adjustment of torque on a robotic screw driving arm. Incorrect torque settings can lead to a range of issues, from loose fasteners causing product failures to over-tightening that damages components or threads. This guide provides a clear, step-by-step approach to adjusting torque on a robotic screw driving arm, helping you optimize your assembly line for efficiency and quality.
First, it is essential to understand what torque represents in this context. Torque is the rotational force applied by the screw driving arm to fasten a screw. It is typically measured in Newton-meters (Nm) or inch-pounds (in-lb). The right torque ensures that the screw is securely fastened without causing damage. Most robotic screw driving arms are equipped with a torque control system, which may be electronically or mechanically adjusted, depending on the model.
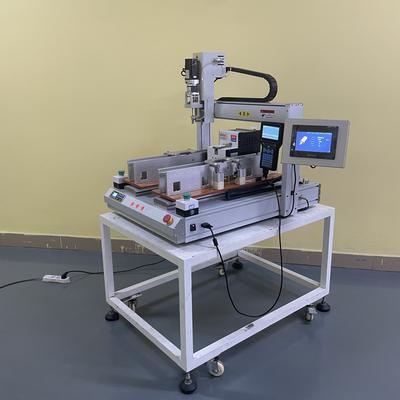
Begin by consulting the product manual for your specific robotic screw driving arm model. The manual will provide detailed instructions on accessing the torque adjustment settings. Typically, adjustments can be made via a control panel, software interface, or physical dials on the device. For newer models, torque adjustment is often integrated into the software, allowing for precise digital control and even storing multiple torque profiles for different tasks.
Before making any adjustments, ensure the arm is powered off and safely disconnected from any energy sources to prevent accidental activation. If your system uses software for torque control, open the corresponding application on the connected computer or HMI (Human-Machine Interface). Navigate to the torque settings section. Here, you can usually input the desired torque value directly. It is crucial to set the torque based on the specifications of the screw and the material being fastened. Using a torque calculator or referring to engineering guidelines can help determine the appropriate value.
For arms with mechanical adjustment, locate the torque adjustment mechanism, which might be a potentiometer or a calibrated dial. Turn the dial gradually while referring to the built-in scale or using a torque meter to verify the output. After setting the torque, it is highly recommended to perform a test run with a sample screw and material. Use a torque analyzer or a torque sensor to measure the actual torque applied during the test. Compare this reading with your set value to ensure accuracy. If there is a discrepancy, fine-tune the settings accordingly.
Additionally, consider the speed settings of the screw driving arm. Torque and speed are often interrelated; higher speeds can sometimes lead to overshooting the desired torque due to inertia. Many systems allow you to adjust the speed along with the torque to achieve a more controlled fastening process. Experiment with different speed and torque combinations to find the optimal balance for your application.
Regular calibration is also key to maintaining torque accuracy over time. Environmental factors, wear and tear, and prolonged use can affect the performance of the screw driving arm. Schedule periodic calibrations using certified equipment to ensure that the torque output remains within the required tolerances. This proactive approach minimizes the risk of assembly errors and extends the lifespan of your equipment.
In summary, adjusting the torque on a robotic screw driving arm involves understanding the torque requirements, accessing the adjustment features via software or hardware, setting the value carefully, and verifying with testing tools. Always prioritize safety by powering down the equipment before adjustments and regularly calibrating the system. By mastering torque adjustment, you can enhance the quality and reliability of your automated assembly processes, reducing defects and improving overall productivity.


