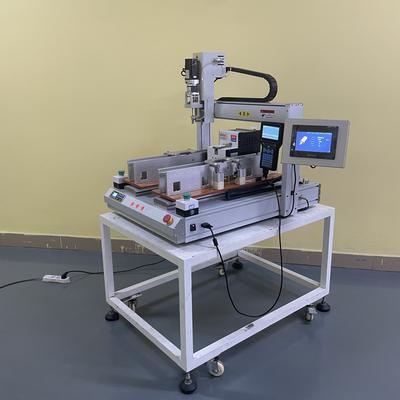
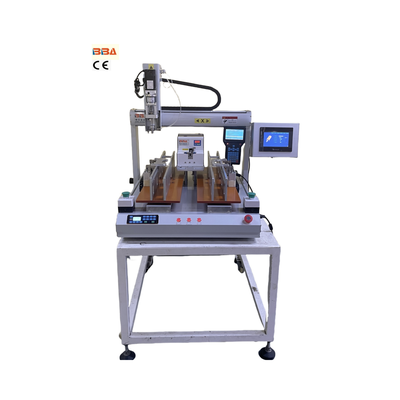
Step-by-Step Guide to Automated Screw Fastening | Industrial Servo Screwdriver Robot Applications in the LED Lighting Industry
| Product Name | Applicable industries |
| Servo Screwdriver Robot | LED Lighting Industry |
Step-by-Step Guide to Automating Screw Fastening in Industrial Applications
Automated screw fastening has revolutionized assembly lines by boosting precision, accelerating production cycles, and minimizing manual labor costs. This guide details a systematic approach to implementing this technology, ensuring optimal results for your operations.
Step 1: Requirement Analysis & Component Selection
Begin by documenting:
• Screw specifications: Head type (Phillips, Torx), dimensions, material tolerance
• Torque accuracy needs: Range (0.5–5 Nm typical) and precision (±3% standard)
• Cycle targets: Assembly speed (e.g., 5–20 sec/screw) based on line throughput
Step 2: System Configuration & Integration
Select components based on analysis:
• Feeding mechanisms: Vibratory bowls or tape feeders matched to screw dimensions
• Drive units: Electric or pneumatic screwdrivers with torque feedback sensors
• Positioning systems: Cartesian robots for linear paths or SCARA/articulated arms for complex geometries
Pro Tip: Use integrated vision systems to verify screw presence and detect cross-threading in real-time.
Step 3: Programming & Calibration
Define critical operational parameters:
1. Teach robot paths avoiding obstacles using waypoint mapping
2. Set torque profiles: Pre-torque (rapid spin) + Final-torque (precision tightening)
3. Program logic for error recovery (e.g., re-attempt sequences after misfeeds)
Step 4: Validation & Optimization
Execute phased testing:
- Dry runs without screws to validate collision-free paths
- Torque sampling (10–20 screws) using calibrated sensors
- 30-min continuous run at 80% speed to identify feeder jams
Adjust screw presentation angles and driver descent speeds based on test telemetry to achieve >99% success rate.
Step 5: Deployment & Maintenance Protocol
During rollout:
• Operational training: Teach technicians HMI controls and emergency stops
• Preventive schedule: Daily checks (feeder alignment), monthly driver calibration
• Data utilization: Monitor OEE dashboards to track downtime causes (e.g., fastener jams)
Benefits Realized Through Automation
Effective implementation delivers measurable outcomes:
Consistency: Eliminate under/over-torquing (defect reduction)
Efficiency: 3–8x faster than manual installation
ROI: Payback in 6–18 months via reduced labor/rework
Automating screw fastening transforms assembly quality while future-proofing production. By methodically following these steps, manufacturers can achieve seamless integration that scales with evolving operational demands.